3.4. Assignment creation
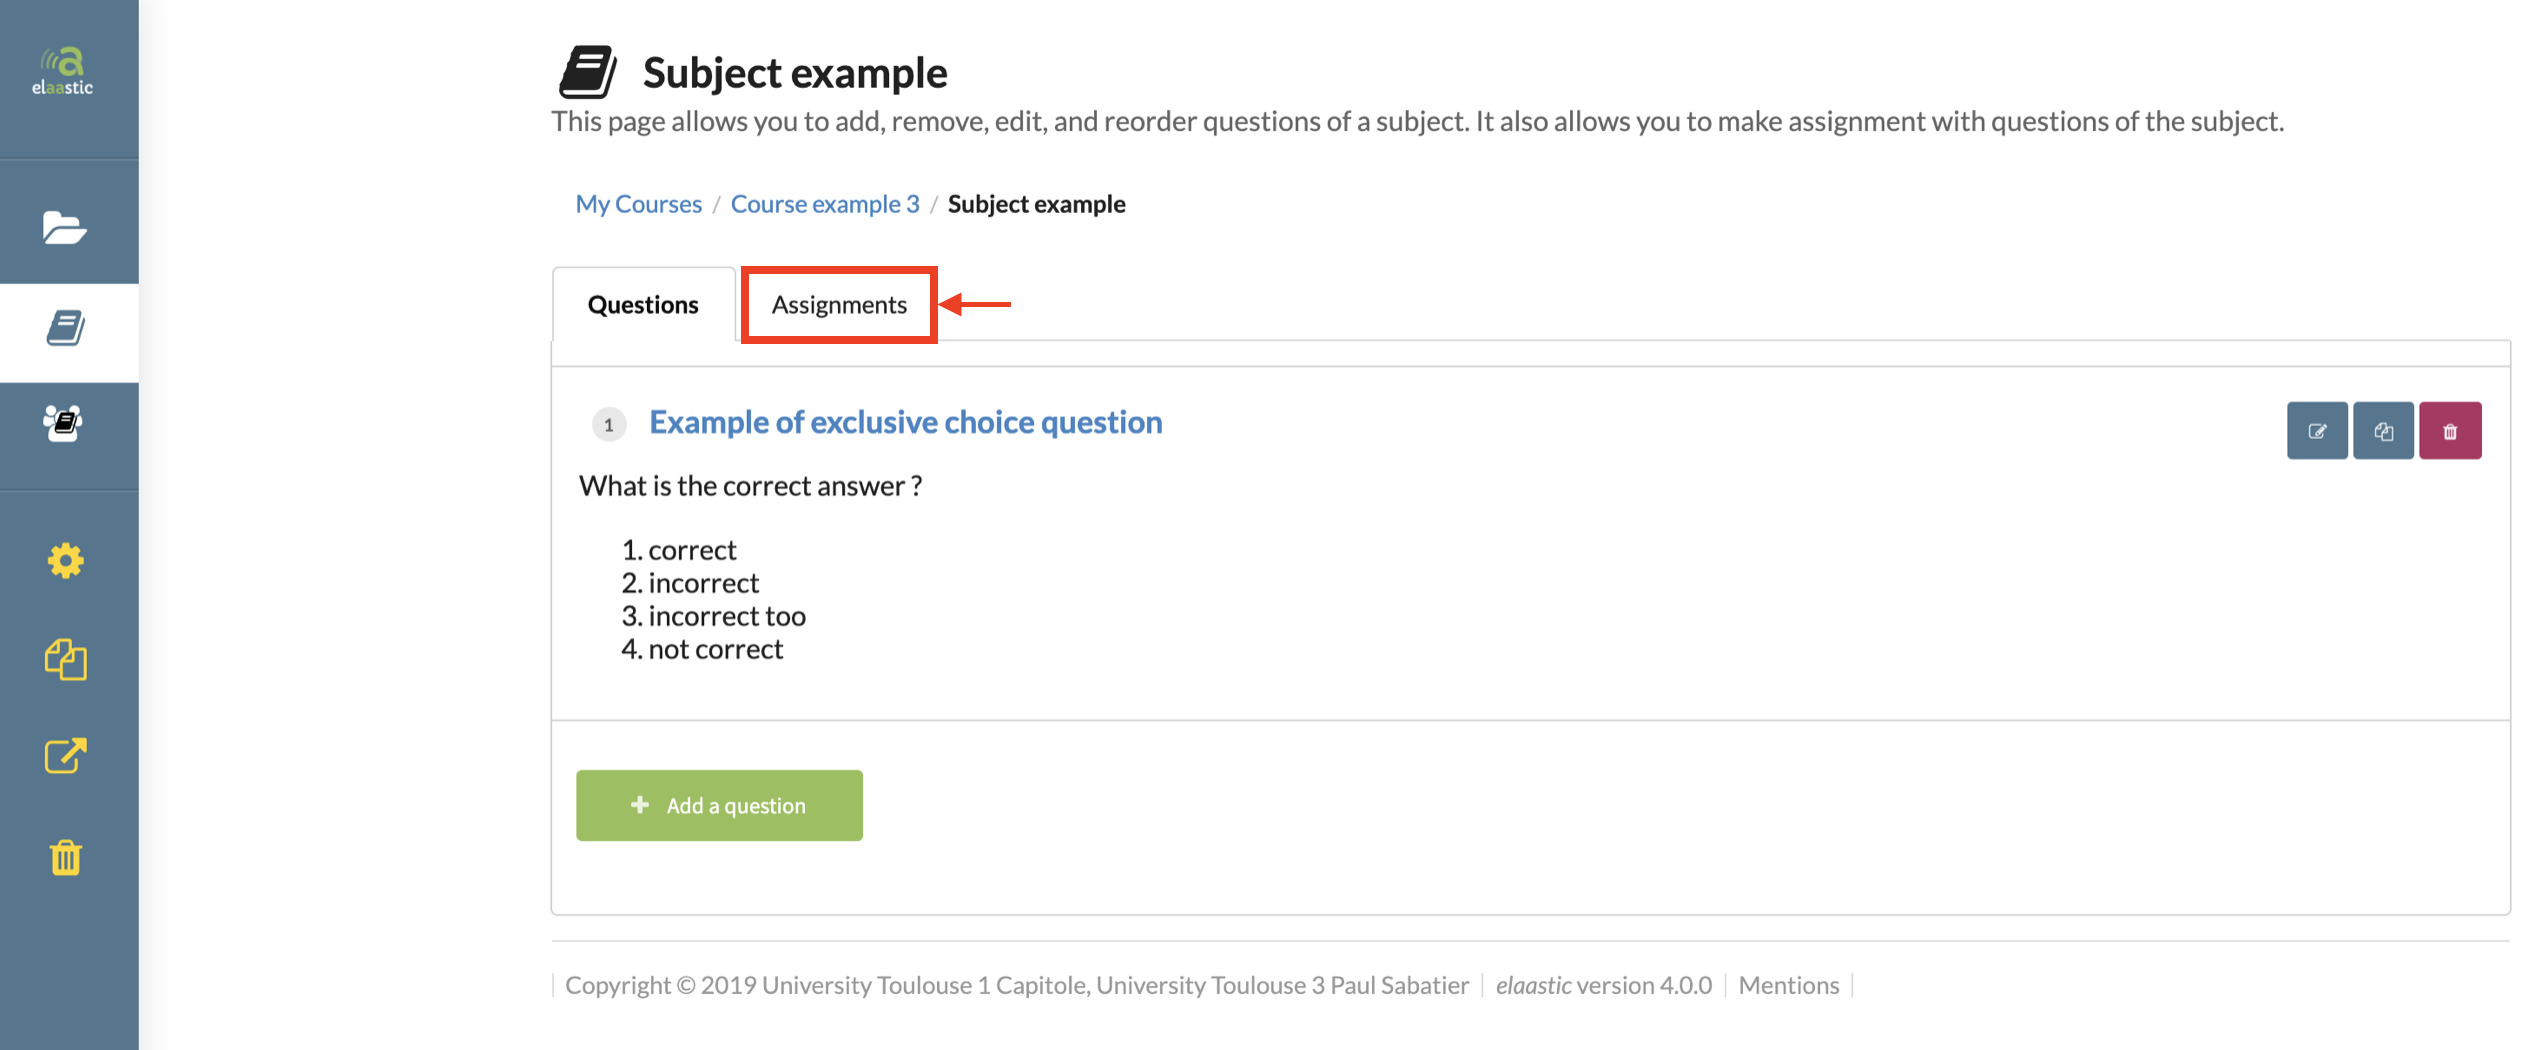
To create an assignment, you must be located on the page to manage your subject. Go to the tab named “Assignment”.
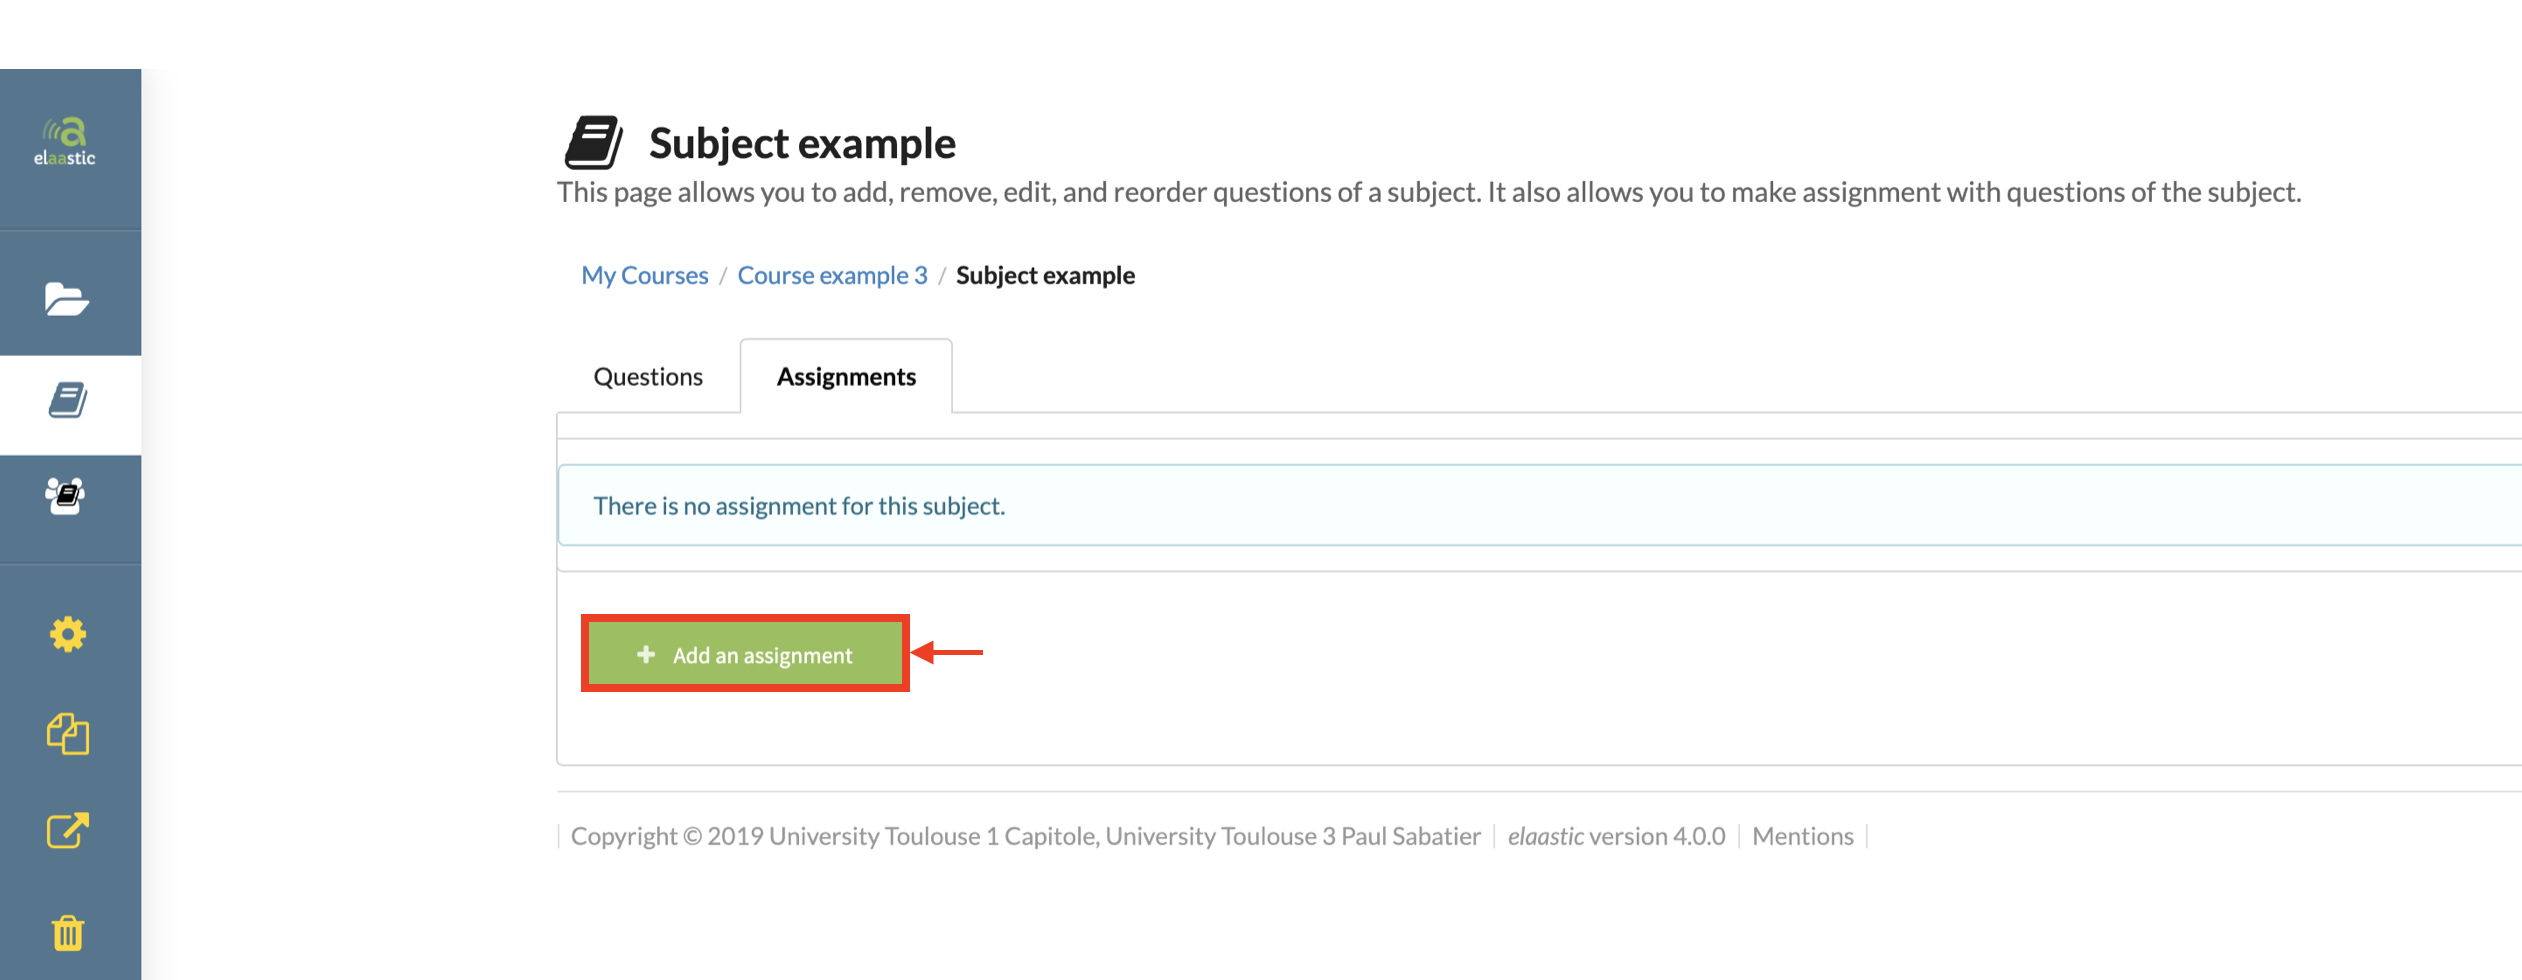
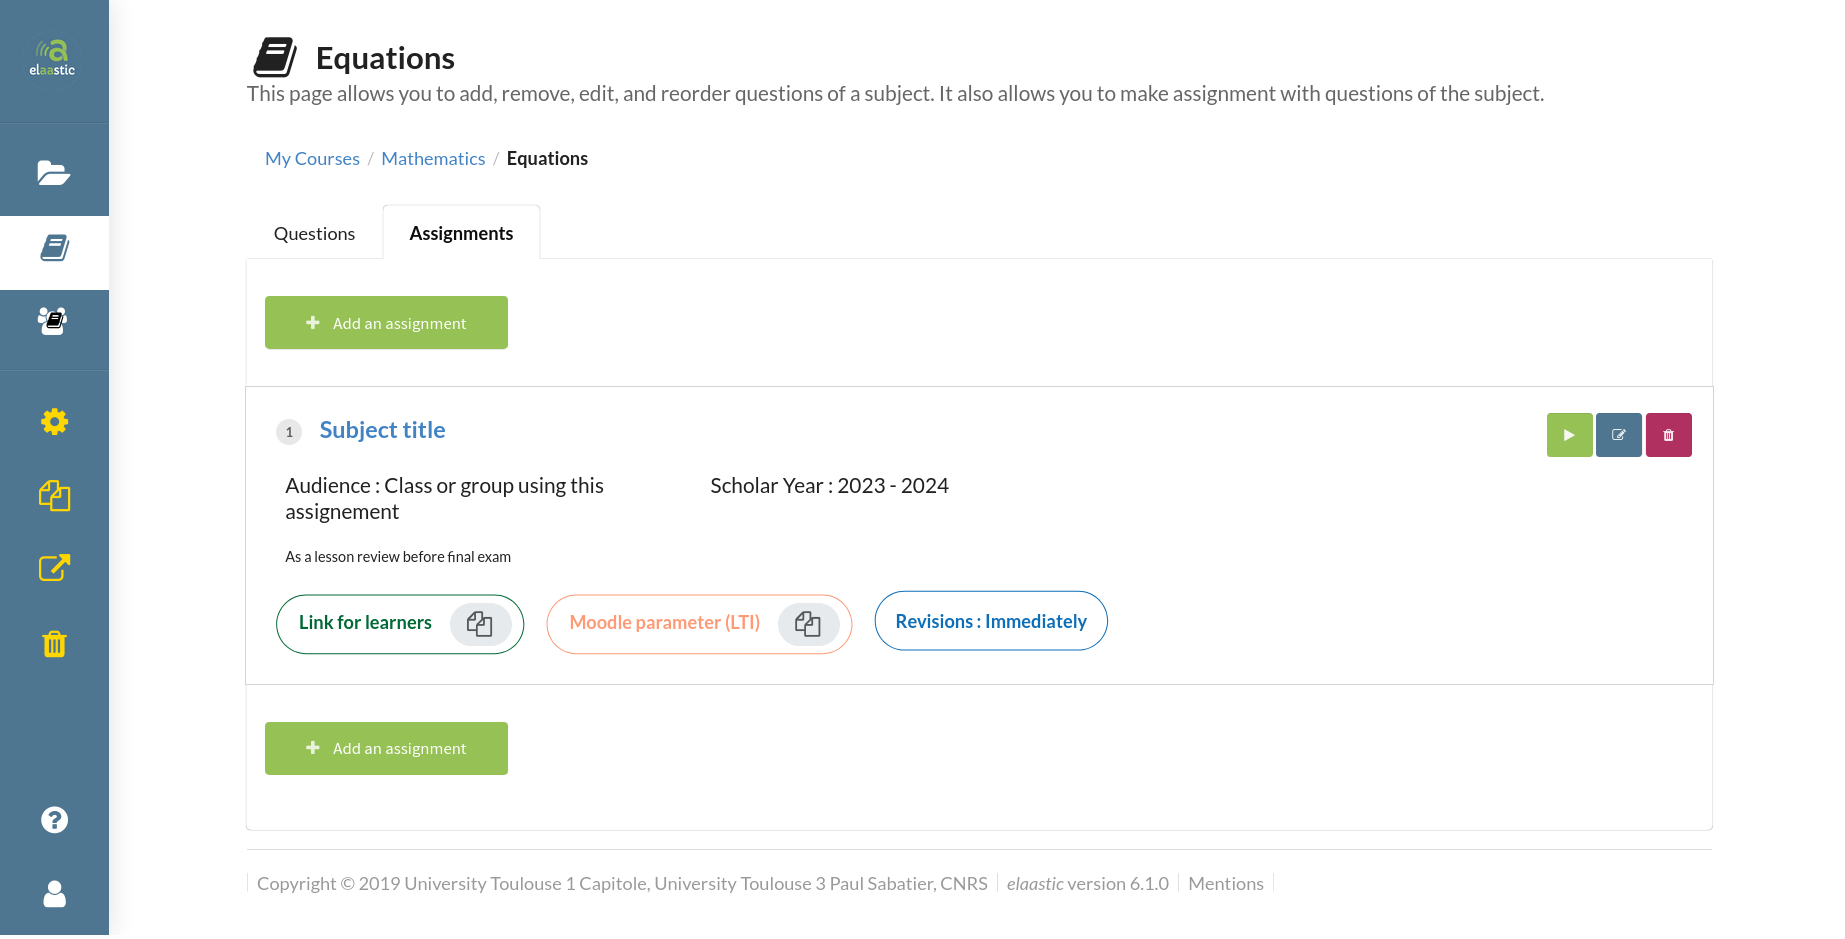
Click on the green button “Add an assignment”.
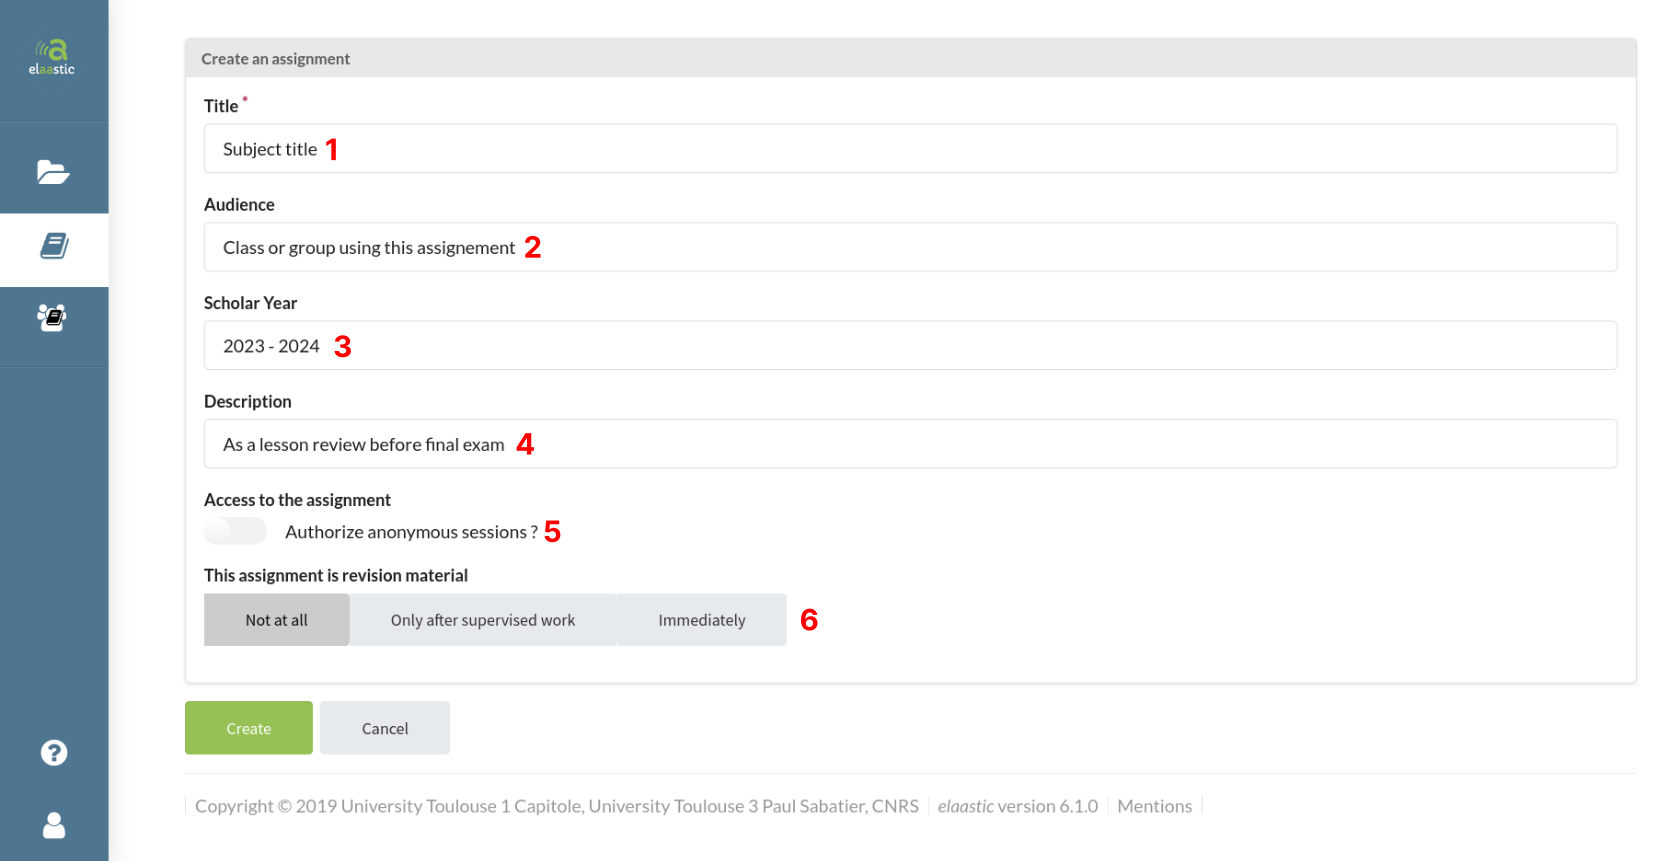
- Name your assignment (mandatory).
- Name your audience which is an overview of the learners that will answer your questions.
- Define the scholar year.
- Add a description.
- If you wish, anonymous users can participate in the assignment through guest accounts.
- If the feature is enabled for your account, you can create revisions. Here you can set the revision access mode to define when the sequences will be made available to students for revision.
- “Not at all” does not authorize the use of the assignment for revisions; it is the equivalent of an ordinary assignment.
- “Only after supervised work” only authorizes a sequence to be transmitted to Konsolidation once you have performed the following action
- “Publish results” in a “face-to-face” context
- “End sequence” in “blended” and “distant” contexts
- “Immediately” transmits all sequences to Konsolidation as soon as the assignment is created
Once you’re done, click on the green button “Create”.
Afterwards, you are automatically redirected on the assignment tab of your subject management page. The assignment you created is now displayed. The revision tag reminds you of the settings you’ve made if you’ve authorized revisions, and doesn’t appear if you’ve chosen the “Not at all” option.
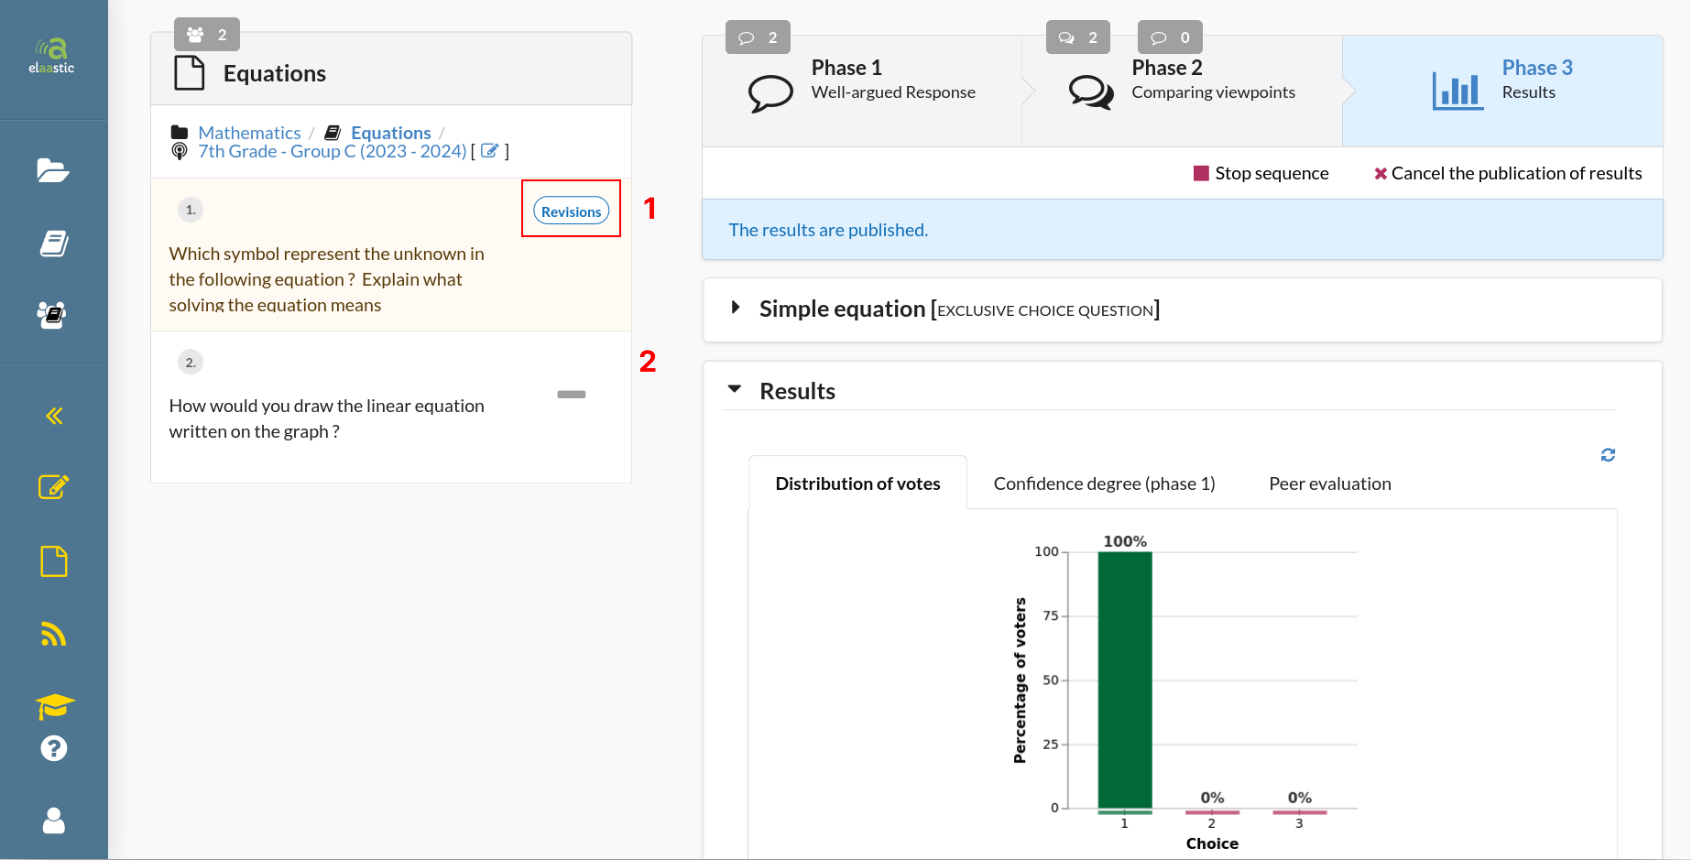
While playing a sequence, the revision tag will appear in the assignment overview on the left side of the screen. Each sequence will display the tag if it is available for revision. The assignement here is in “Only after supervised work” mode.
- The tag is displayed, which means the results are published, and the sequence is available for revision.
- The tag is not displayed, this mean the sequence is not available for revision.
